Guests Profile not only helps you to maintain records of guests but also helps you to know your guest and serve them more efficiently.
From Guest Profile page you can do the following actions:
- Create new profile.
- Edit profile.
- Copy profile as new.
- Delete profile.
- View guest history
All above actions are role based access control.
How do you create a Guest Profile?
- Click on “Create Guest Profile”

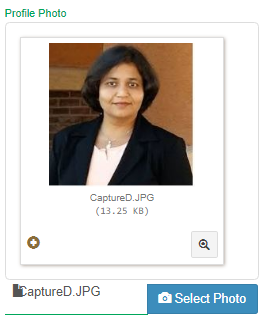
2. Browse Guest picture and upload

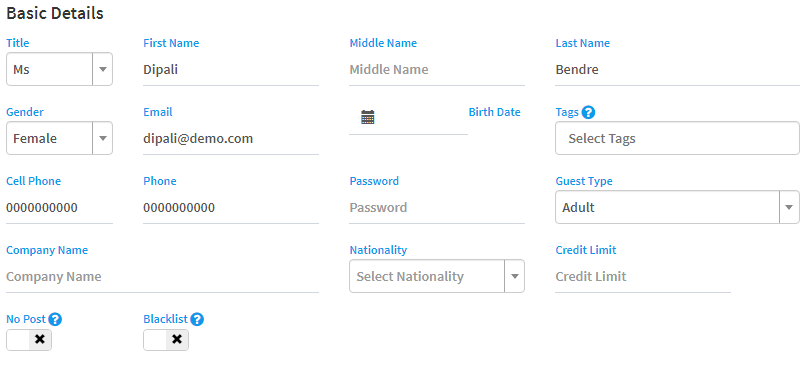
3. Fill in all the basic details of Guest, i.e.; Title, First Name, Middle Name, Last Name, Gender, Email id, Birth Date, Phone no.
In Basic Section we have added few more options like Tags, Password, Guest Type, Guest Status and No Post which are expanded below.
a) Tags – This is a multi-selection box. You can select VIP level and also select tags to know your guest better.
b) Password – Guest can access his own profile from to make necessary changes on online.
c) Guest type – Select guest as Adult or Child.
d) Guest Status – Know your guest by their visits. If you want to Blacklist any Guest then select from the drop down option. Reservation won’t be possible for any Blacklist guest.
e) No Post – Activating this field will prevent the interface from posting any charges to guest folio.
f) Blacklist – If you want to deny accommodation to any guest in your property for his/her past history then activate Blacklist option. Once it is activated, while creating reservation for the same profile you will get an alert message will will let you know that the selected guest is Blacklisted.
g) Credit Limit – This field will allow you to set credit limit for individual guest. During their stay when the Folio Amount exceeds the credit limit, you will be notified with alert message saying whenever you open folio that the payment need to be settled.

4. Personal Address – Fill personal address with Postal Code, City, State and Country. On filling the address line, city state and country will be auto filled.
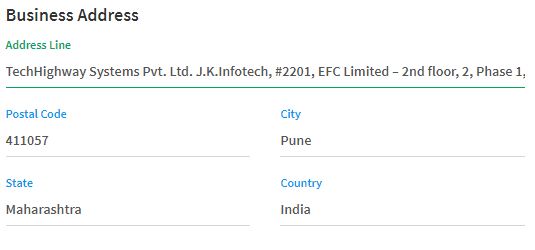
5. Business Address – Fill business address and the address set up is same as personal address field.

6. ID Details – Select the type of ID from the drop down list that is provided by the guest. This field allows you to select one ID only.
7. ID number – Mention the ID from the photo ID

8. Membership Details – If guest is a loyalty member then select the Member Type, mention member no., level of membership, and if any points is redeemed from member account.

9. Profile Comment – This field will help you to update comment related to Guest and save for future reference.

10. Passport Details – Click on  to open more fields to fill passport details.

11. Visa Details – Click on  to open more fields to fill visa details.

12. Click on  to open more fields to fill the transfer details of guest.

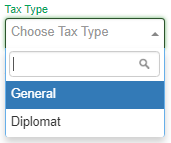
13. Click on  to exempt tax for any cases like Diplomats, etc.

14. Click on  to activate and deactivate the Profile.
******
